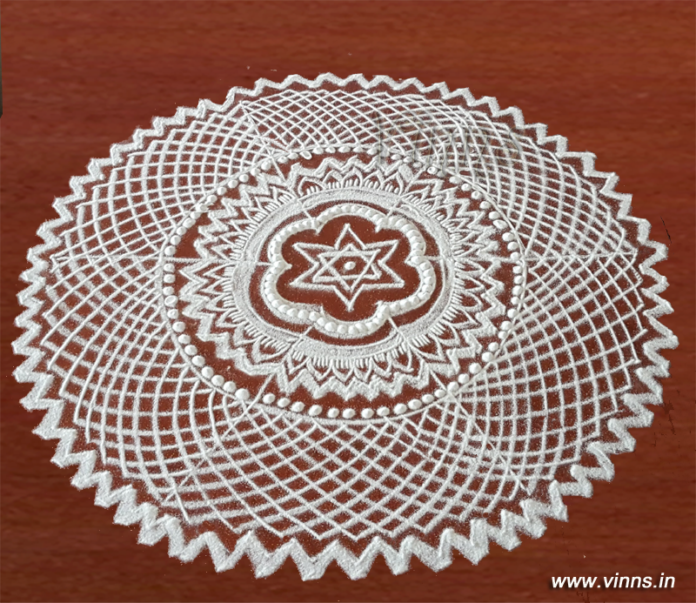
A freehand kolam which is drawn without any guidance or instruments to draw the circles. An easy method to draw circle kolams. I usually start the kolam with a base design and spin around with the elements which flow throughout the kolam. I don’t make any preparations before drawing freehand kolams unlike the sikku kolams which need at least a rehearsal on paper. Big Sikku kolams are must to be practised before going on to the floor version as the lines may be tricky to land on a wrong path. So now a days I am much comfortable with freehand kolams, which I am smitten lately of as now 🙂 I am lethargic of drawing circles or using any other sort of guidance to start with, so my kolams are drawn in segments and then repeated on all sides. More or less they stick to the shape named “The Circle” 😀
The video of this kolam can be seen in this Youtube link : https://www.youtube.com/watch?v=snDHFypqTjA
 Step 1 Draw any shape at the centre, I have drawn a star, but I am chided for always starting with a star by a friend of mine 🙂 So its an individual’s choice of shape to give a start to the kolam. I have outlined the kolam with a line.
 Step 2 Outline twice the draw with a curvy lines forming 6 curves. Now draw radial lines from the joining points of two curves which form the base for drawing the design around.
 Step 3 Draw two lines and fill with kola powder to form a broad solid line. Then add six petal shapes then outline it with a bold line to make it look prominent.
 Step 4 After drawing the broad zigzag lines, Enclose the design with a curve by joining with the adjoining curve. Now adding extra details into the petal shapes. I have added dots beside the curve to make it look grand.
 Step 5 Finish the first layer with designs forming into a circular shape. Extend the radial lines beyond till the finish line of the kolam Now draw curvy lines from one end of the radial line as shown.
 Step 6 Complete drawing the curvy lines to the next radial line.
 Step 7 Now repeat the same method in the opposite direction by joining the lines to the sides. Complete the design on all sides.


