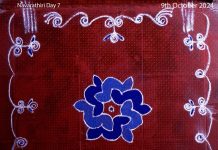
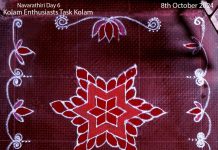
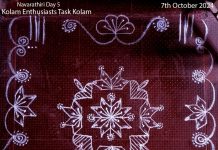
Scroll down to view the step by step construction of this sikku kolam
” – ”
Disclaimer: Read at your risk
I had burked the second part of the task of @kolamenthusiasts in my previous post and a good soul twisted my arm to answer a questionnaire .God Bless you
The second point was to share the journey in Kolam Enthusiasts group. Well, have to answer the query sent to me.
” ”
All happed on one fine day when my bezzie was out of touch for two long days and I had to date with nothingness.
On the spur of the moment created a fb group and christened as Kolam Enthusiasts to preoccupy myself by relishing on other’s kolams.That special day was 7th May 2016.
“”
In 2016 Kolam groups on fb were thin on the ground without much activities.
An attempt to engage creativity minds by exploring into this amaranthine art beside instilling the basics of kolam.
” ”
The group was building in and a kick up was needed to trigger the group’s enthusiasm and thus the word TASK formulated.
” ”
Yes, I do confront while instigating a concept when it has religious grounds.
Faced a real challenge as that notion needed loads of reference before I could postulate my idea as it would be perpetual and not to mislead the clan.
And that was ” ”
Actually three kolams were identified as brahma mudi one among that was from Kolamanjari book which had multiple strands and furthermore another title parralled by the context Andhadi which didn’t brace the theory. And there wasn’t exact definition for Brahama mudi.
So, I had to delve into books and after myriad discussions with my friend, finally coined the word “” with a perfect explanandum.
Felt great to share the knowledge acquired and see the Brahmamudi reaching nooks and crannies with the engendered theorem
” ”
Unequivocally, the KE’s superstar ” ”
Last year the whole world was down by pandemic, we Kolam Enthusiasts reflected our orisons through our kolams to HIM and tried to calm our inner self and eschew the catastrophe.
To be Continued…
- Draw the line as show.
2. Draw the same structured pattern on opposite side
3. Now join the lines on all sides so that it forms a single strand. You can note that the design on adjacent sides and opposite sides are similar.
4. Draw the above strand in opposite direction. This is a perfect mirror image. 
6. Draw the green shaped bulb elements. 
7. Now copy and paste the same patterns on all 4 sides. 
8. Form the Swasthik at the centre as shown with the open loops at the end so that it will be easy to join with the connecting strand. And the outer orange strand too.
9. Now join the orange strands. 
10. Repeat the purple strand in previous image on all sides and join with the centre Swasthik. 
11. Draw the purple strand at the bottom left as shown.
12. Now join all the strands and that forms a single Swasthik strand.


