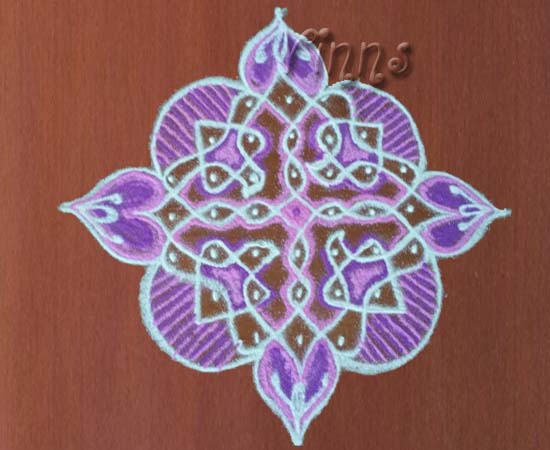
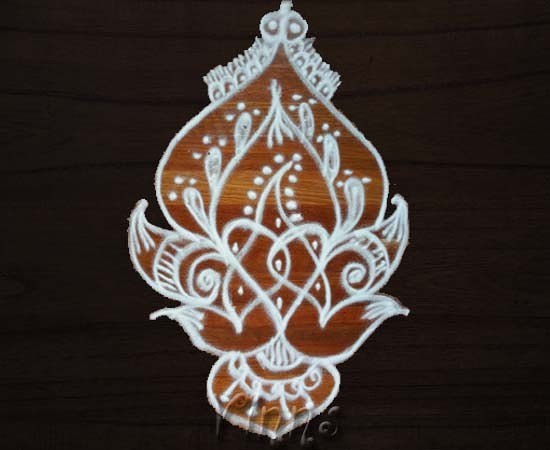
Drawing sikku kolam is very simple, though it may look bit complicated to draw. To start we shall take an easy one, say 4 dots. Place 4 dots in a column and on either sides place two dots on a straight grid pattern in decreasing order leaving the top dots.

After placing the dots now its time to draw the lines around the dots. Always have a starting point, the dot as reference, start with turning and twisting. The reference for the next dot can be done with having a coordinate point (x,y). I shall brief about it when we go for a larger count dot. Usually I take the bottom dot as the reference point. Now draw the line from and to the dot (1,2) ie. one dot away in x axis and two in y axis, the line has to reach to that point and make a curve to move downwards. Now stop at (-1,1) point then a take turn upwards to (0,3) and finish the kolam.
Now we can extend the kolam by adding another set of dots plus a centre dot adding to 9 in the main coloumn. Then place the next dots in a straight pattern in the descending order. And follow the same design pattern and for an easy way first draw the four dot kolam on all sides and join in the centre.

Now fill up the extra dots with sikku strands and create a enclosure around the kolam. Place dots in the boxes formed by weaving of strands which look empty without dots. That will uplift the beauty of the kolam.

The Finished Product 🙂
You can keep on extending the kolam to any dot count except the centre column dots should be placed in odd count. And you can join the side dots with your own imagination to the corner sikku. Hopefully I shall try to add more in this post 🙂
For the beautification factor, you can add swirls, twirls or shapes around the border filled with colour powders.
You can draw sikku kolam in colours and white 🙂


